Mastering the Science of Quality
December 19, 2017
 Simple fact: Without quality, you soon have no customers. Read any piece of business literature and you will see the word prominently displayed. But what exactly does “quality” mean? At Laser Precision, we define it as: “Meeting any and all customer expectations and requirements.”
This simple statement, however, does not really reflect the efforts we have taken to master the science of quality and make it a reality in our shop. And it never stops. We consider quality a journey, not a destination. To measure and control quality, it has to be outlined in concrete terms. Here is a look at some of the key components of our process.
Communicate: Understanding the Need
Since we do a lot of small runs with a high variety of parts, the Part Production Approval Process (PPAP) is an important part of our procedure. The PPAP guides us through a dialog with our customers and confirms approval of production designs and processes before, during, and after manufacture. This includes discussing the customer’s requirements, feedback on how we are doing, and ways we can improve. Our Quality Manager, Matt Keller, and his team may prepare up to 170 PPAPs per month.
Anticipate: Looking for Potential Pitfalls
Before the initial production run, we evaluate the part and pick out critical prerequisites for success. We then undertake a Failure Mode Analysis (FMA) for each and every point that could go wrong within a process and how those would affect the customer. For example: for a part that goes through a forming operation, we look at the print and identify the critical dimensions that tell us how tight we have to control them. These are documented and called up each time the part is run. The initial part is verified against this documentation to ensure all requirements have been met.
 Document: Establishing a Repeatable Process
For each and every product sourced to us, we take time to review all requirements in the design record. These are then documented in our electronic resource planning (ERP) software. The ERP includes a system of integrated applications to manage the entire manufacturing process for that particular part. In other words, we have routing documentation for processes and how each and every step should be taken to fabricate the piece.
Inspect I: Assigning Personal Responsibility
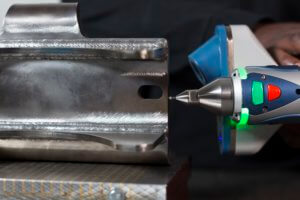
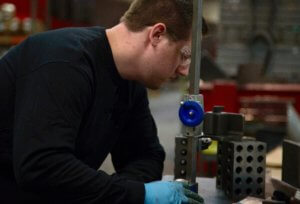
Ten years ago, in a unique move, we broke away from the usual industry standard of having designated Quality Inspectors validate product quality. Instead, we gave the operators themselves the responsibility for inspecting the product right at their station. The reasoning was that the best person to maintain tolerances throughout a run is the person who did the initial set up. The operators can make adjustments quickly, accurately and precisely right on the spot.
Inspect II: Making Sure with a Triple Check
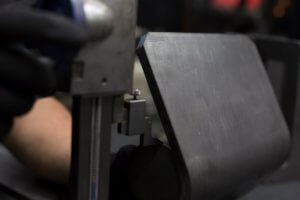
Since we have a lot of small runs, instead of inspecting a sample size, our operators inspect the first, middle and last piece of the run. If best practices are followed and the initial setup is good, there should be little or no variation when the middle of the run is checked. But we don’t take any chances. The middle and end inspection provide two opportunities to re-center the setup if needed. It’s a fine line between over inspecting and under inspecting. If variances are found, they are documented and the process is revised to reduce occurrences the next time the part is run.
 Measure: Verifying the Process
Quality is measured by the number of defective parts per million shipped (ppm). Our record is better today than any time in our history. Our current average is at 50/60 ppm. In other words, we ship less than six defective parts for every 100,000 that we ship.
The steps outlined above, along with actions determined by internal and external audits, allow us to continually make adjustment to our communication, fabrication and inspection processes for continual improvement of our ppm metrics.
Talent, Training and Tools
Underlying our quality process is the attention that we pay to the basics. We assign a lot more responsibility to our operators than is usual in the industry. For this reason we select talented individuals who are competent, of course, but are also capable of evaluating whether they are performing what the customer expects. They must also have excellent communication skills to document variances and suggest adjustments to best practices for even higher levels of efficiency. Training is continuous as new products are added to the line, best practices are revised and changes to individual part profiles are made to eliminate variances.
Our machines undergo regular preventive maintenance and gauges and other measuring devices are routinely calibrated and validated so that the operators are working with equipment that is highly accurate and functioning within proper parameters. Materials inspection is also part of the program, since there is no point laying down a perfect weld on a bad piece of steel.
Quality Explained
Everyone talks about quality. But as you can see, we define it, document it, constantly measure it and continually improve it with a very structured and scientific program. “If you don’t have a robust quality system that is validating production, or you’re not aware of what’s going on in your production, it’s impossible to adapt to changes,” says Matt Keller. “It’s this attention to detail and flexibility that makes us stand out in the marketplace.”

